Thanks for trying out or purchasing SketchThis! To use our service you’ll need to go through these easy steps below.
Step 1 install the plugin
The plugin can be found right on SketchUp’s Extension warehouse. Click the animation to see a video with instructions on installing it. If you’re viewing this in SketchUp, you already have the plugin, head to the next step. If you need SketchUp click here to get it.Our plugin works in both the free and pro versions of SketchUp.
Step 2 Download a cabinet
Click on the image of a cabinet to download it into your SketchUp model.

Step 3 Modify a cabinet
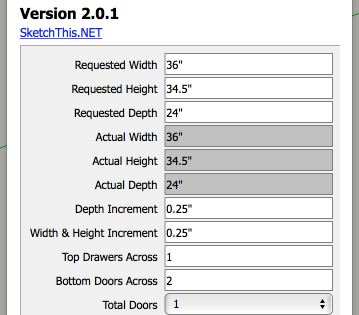
While our catalog may seem small, each and every cabinet has a ton of options that can be altered. You can right click on any of our cabinets and select “Dynamic Components” and the “Options” to fool with the settings.
Step 4: Swap a door
One of the most powerful features of the plugin is the ability to swap doors. You can do one door at a time, a few doors at a time or your whole model. Simply click the door icon on the tool bar and pick your doors that you want to swap.

Step 5: Swap Hardware
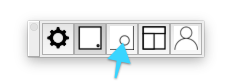
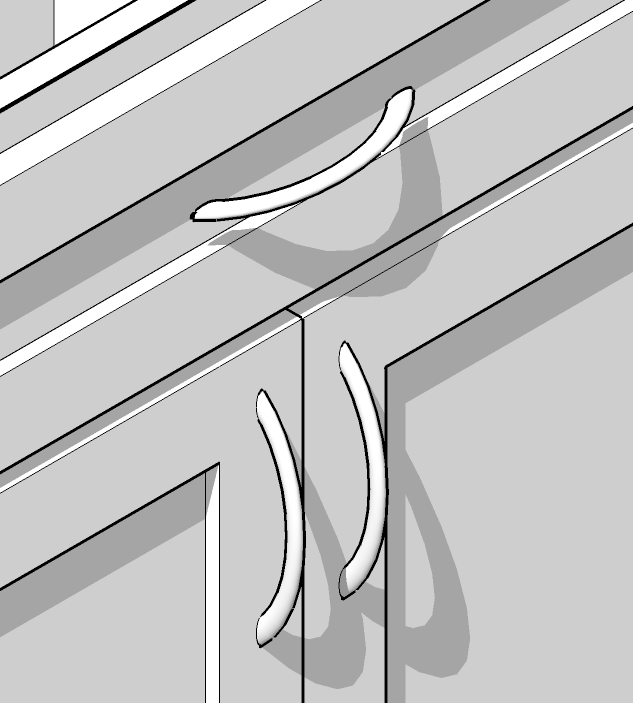
You can also swap hardware on your cabinets one at a time, or across your whole model easily with our hardware swapper. Simply click the hardware button on the toolbar, pick your hardware and swap away!